When I scanned the roll of fomapan 400 I shot at cannon beach in oregon, I thought about trying something different in the dark room: the sabatier technique. the process calls for an additional exposure to a constant light source half through the development and finishing the development afterwards. It’s best to stop the development process in water, dry to paper and put it back under the enlarger using a grey filter to expose the frame equally. the effect doesn’t have much impact on the dark parts of the print but darkens the lighter parts significantly. a halo around the edges of light and shadow should be visible as well as a result of chemical exhaustion caused by the darker parts of the image. therefore the image is not to be agitated during the second half of the development. working with a high contrast paper will give stronger effects.
Man Ray was a master of this technique in the early twentieth century. He used the effect by producing paper negatives for doing another print reversing the lighter halo to a dark edge around the subjects.
I chose a different approach. I only wanted the effect applied to parts of the photograph and also avoid the mess with putting the wet print back into the paper holder. Since my developing time is two minutes, I took the prints out after about eighty seconds into the first development. doing it earlier didn’t result to any effect while doing it earlier left me with a dark mess. I also forgot not to agitate during the second stage of development.
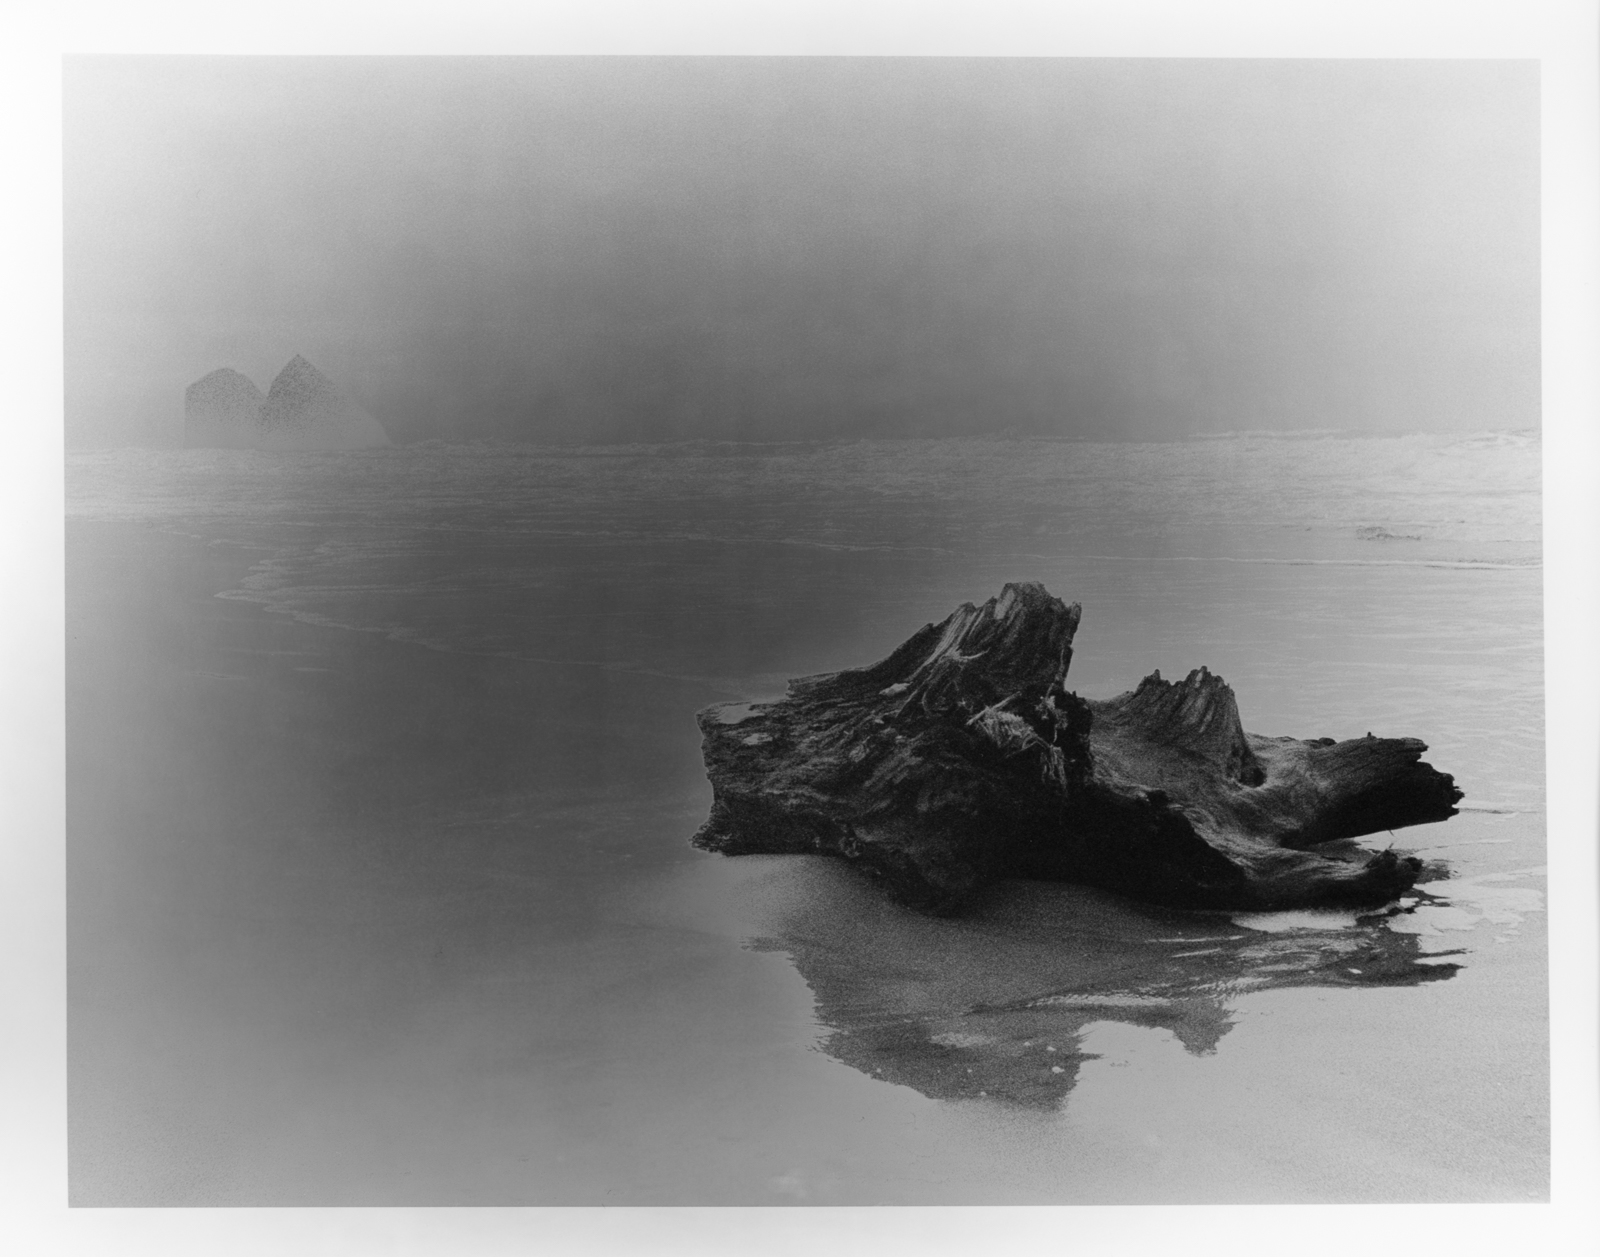
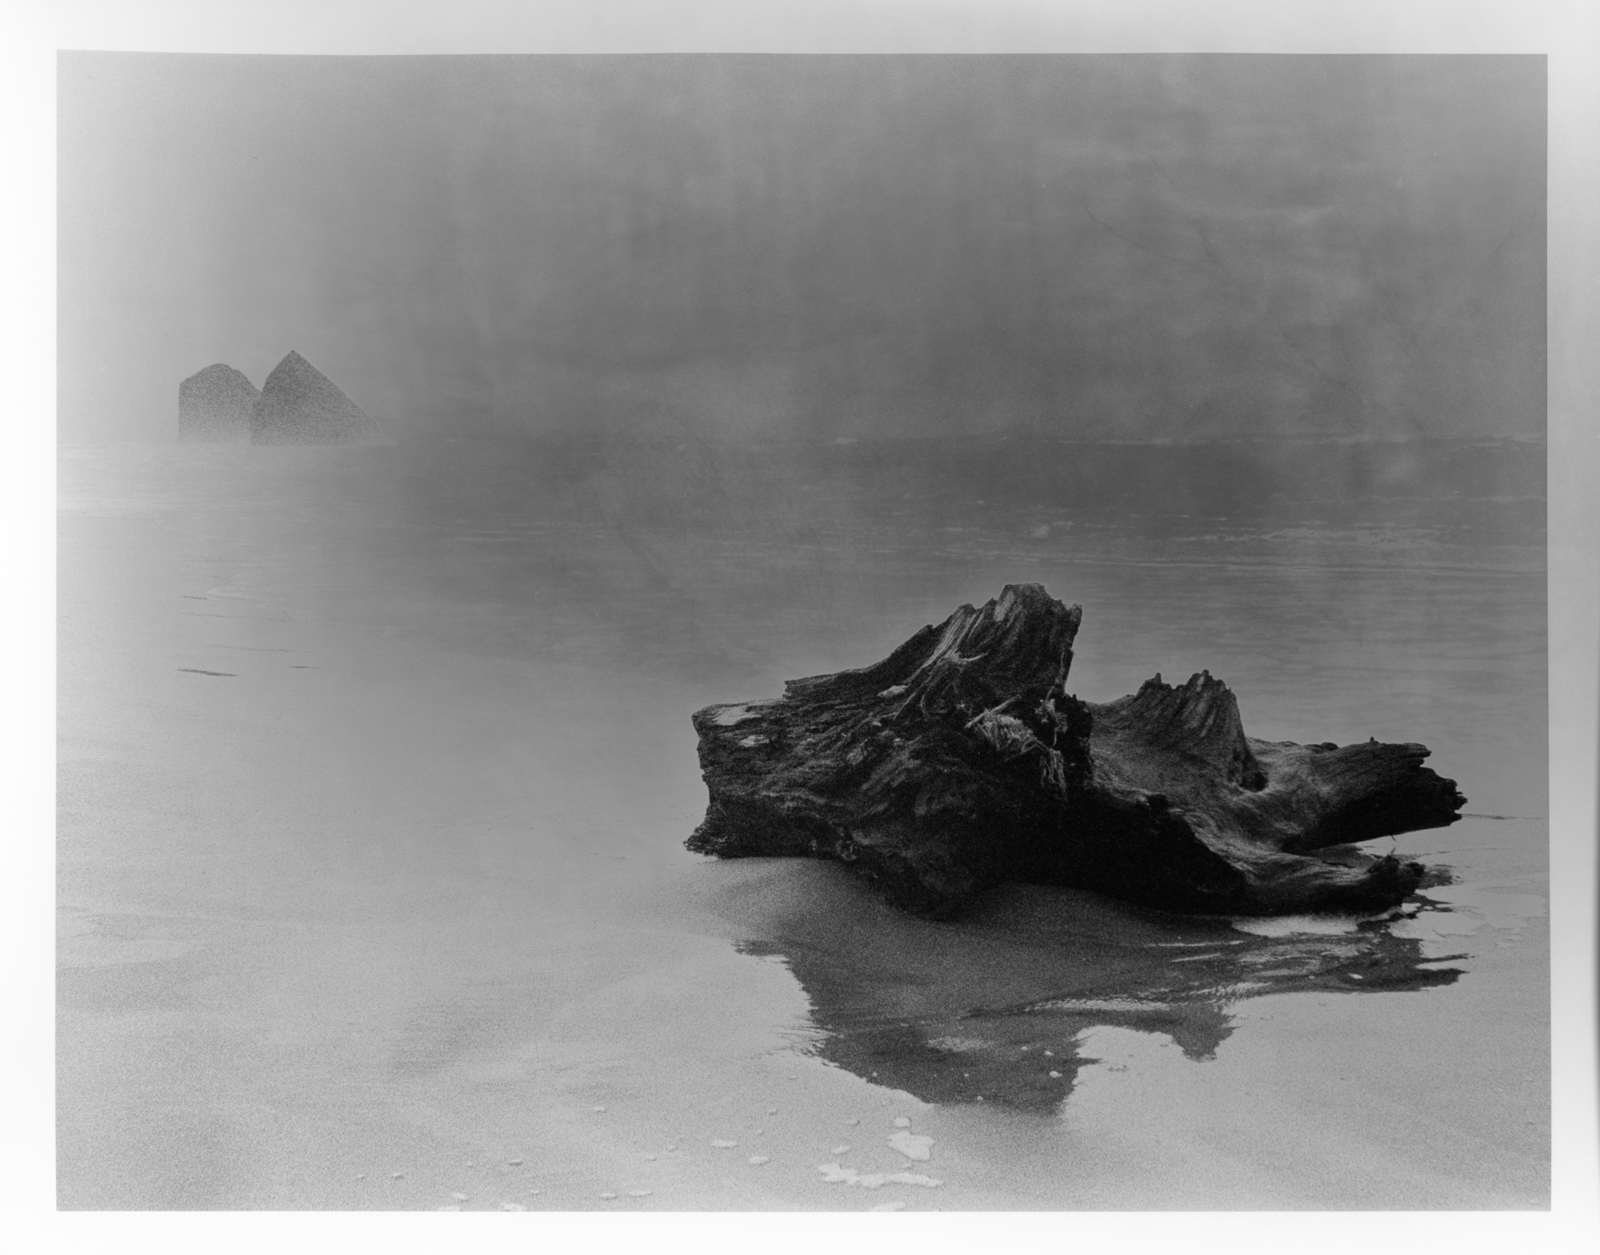
After eighty seconds I stopped the development in water and applied some local exposure with my mobile phone. Yes, it’s right. I used the screen of my phone as light source counting to four and circling around in about twenty centimeter above the image. afterwards I developed the print for the remaining forty seconds. all together I printed four version and the original that night. Each of the versions is unique and is very different in expression. The two images posted in the blog are my favorites.
Even though I didn’t follow the sabatier technique religiously and tried my own version of it, I succeeded in getting a unique effect changing the look of a rather common imagine into something different. The two images show that I was able to produce a bit of halo around the dark areas as well as a reversal effect in the brighter parts. My next steps with the technique is to go a step backwards again and practice a more controlled approach.
The original photo can be found here. the prints were done on bergger prestige fiber paper.
Similar Posts:
- A modern yet retro film – Rollei Retro 80s
- India – the places – top ten
- Film talk: Rollei Retro 400s
- taking the hasselblad to a concert
- lens talk: the voigtlaender color skopar 35mm/2.5